 Trusted Since 2001





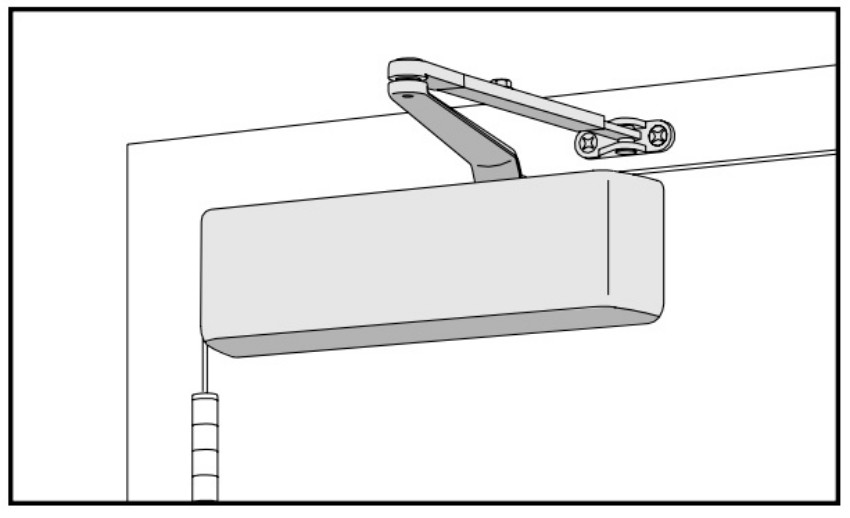
LCN 4040XP surface-mounted door closer. View model diagrams and parts.
Quick Answer
The LCN 4040XP ships with two installation templates. Use the 110-180 degree template for push side and EDA arm configurations. Use the 120 degree template for parallel arm pull side and top jamb pull side configurations. Both templates fold at the door edge, align to a centerline height, and mark all hole locations before drilling. Most top jamb installations also require the 4040XP-18 plate when the top rail is under 3-3/4 inches. If your template is missing, the PDF sheets are downloadable from the manufacturer, or a reusable metal template kit is available from LCN through your distributor.
The LCN 4040XP installation template is the most important piece of paper that ships inside the box. It is also the piece most frequently discarded or lost on the job site. That single mistake is the source of most misaligned holes, stripped screws, and improperly mounted closers in the field.
This guide covers everything a locksmith, facilities technician, or contractor needs before picking up a drill: which of the two 4040XP templates applies to your configuration, how to read each column, how to set handing, how to align and punch through the template correctly for each door type, and what to do when the template is missing. For a full overview of the closer itself, see the LCN door closer parts guide.
Browse the LCN 4040XP series parts catalog for replacement components and the 4040XP model page for interactive diagrams.
Why the LCN 4040XP Uses Two Separate Templates
The 4040XP mounts in three primary configurations, and each places the closer body and arm shoe in a different geometric relationship to the door top edge and door face. A single template cannot locate holes accurately for all three without becoming unreadable in the field.
LCN supplies two separate templates, each optimized for a specific range of arm geometries:
- 110-180 degree template: for push side mounting with a regular arm, and for EDA (Extra Duty Arm) configurations. Covers opening angles from 110 to 180 degrees.
- 120 degree template: for parallel arm pull side mounting and top jamb push side mounting. Designed for 120-degree maximum opening applications.
Selecting the wrong template does not produce an obvious error before you drill. The holes appear to be in reasonable positions. The problem only becomes visible after mounting, when the arm geometry is wrong, the closing force is uneven, or the arm shoe cannot reach the correct pre-load angle on the shaft. For help choosing the right closer size and configuration for your opening before installation, see the LCN commercial door closer selection guide.
Which LCN 4040XP Template Applies to Your Configuration
Confirm your arm type and mounting side before touching the template. Use this reference table:
| Arm Configuration | Mounting Side | Correct Template | Max Opening |
|---|---|---|---|
| Regular arm (standard) | Push side | 110-180 degree template | 180 degrees |
| EDA (Extra Duty Arm) | Push side | 110-180 degree template | 180 degrees |
| CUSH arm (cushion stop) | Push side | 110-180 degree template | Varies by templated stop |
| Parallel arm (PA) | Pull side | 120 degree template | 120 degrees |
| Regular arm (top jamb) | Push side (top jamb) | 120 degree template | 120 degrees |
| Regular arm (pull side) | Pull side | 120 degree template | 120 degrees |
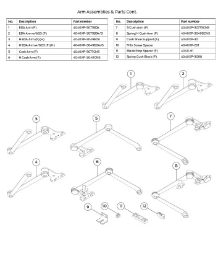
LCN 4040XP EDA and CUSH arm assemblies. View arm assembly diagrams and parts.
Note on CUSH stop points: CUSH arm installations use the 110-180 template, but actual stop points are approximately 5 degrees more than the templated stop. A 180-degree template position yields a stop of approximately 175 degrees. Factor this offset into your planning when matching an existing door stop position.
How to Determine Door Handing Before Using the Template
Both templates have separate columns for left-hand (LH) and right-hand (RH) doors. Using the wrong column positions the closer body incorrectly relative to the arm shaft, which produces wrong arm geometry and inconsistent closing force.
Stand on the pull side of the door (the side without the closer body) and face the door:
- Hinges on your left: left-hand (LH) door
- Hinges on your right: right-hand (RH) door
Most LCN 4040XP templates label the LH and RH columns with an arrow and a "Hinge Side" marker. Select the matching column before marking any holes. If you are unsure which closer type is correct for your door, the commercial door closers types guide covers mounting side, arm type, and application requirements by closer family.
Reading the LCN 4040XP Template: What Each Element Means
Both templates show the same categories of information arranged in columns by arm type and handing. Understanding each dimension prevents the most common field errors. For a labeled diagram of every component on the 4040XP, see the door closer parts diagram guide.
Closer Body Mounting Holes
These are the holes for the four or five screws that mount the closer body directly to the door face (push side) or door head (top jamb). Their position is shown relative to two reference points: the door top edge and the door face. The standard centerline height for most push side 4040XP installations is 1 inch from the door stop rabbet, measured from the top of the door down.
Arm Shoe Bracket Holes
For push side regular arm and EDA installations, the arm shoe mounts to the door frame on the strike side. The template shows the horizontal backset for the shoe: the distance from the door edge to the center of the shoe bracket holes. This backset changes based on door width and arm configuration. The template prints the backset range so you can confirm the shoe will land on a solid frame face with adequate fastener engagement.
Spring Power Chart
Both templates include a spring power adjustment chart that matches door width to the correct spring power setting (1 through 6). Set spring power before mounting the body. Adjusting it after mounting requires removing the cover, which adds time to every installation. For a full explanation of spring power ranges and ANSI sizing requirements, see the commercial door closer sizing guide.
Step-by-Step: How to Apply the LCN 4040XP Installation Template
- Select the correct template. Confirm your arm configuration and mounting side using the table above. Locate the 110-180 degree or 120 degree template.
- Set spring power first. Look up the door width on the spring power chart. Adjust the spring power dial on the closer before mounting using the LCN FAST Power Adjust. Easiest to do before the body is in place.
- Set the centerline height. Measure from the top of the door down to the closer centerline. For most push side installations, this is 1 inch from the door stop rabbet on the pull side face. Mark a horizontal pencil line across the full door face.
- Fold or peel and align the template. The paper template folds along the door edge line. Align the fold with the door edge and match the top of the template to the door top edge. The centerline mark on the template should align with your pencil line.
- Tape the template securely. Apply masking tape at two or three points. Do not rely on the fold alone. Movement during marking shifts hole positions.
- Center punch all hole locations. Use a spring-loaded center punch through the template at every marked hole. Do not skip this step on hollow metal doors, where a drill bit without a starter dimple walks across the surface.
- Remove the template, then drill. Remove the template before drilling. Drill 1/8 inch pilot holes at all closer body locations for SRT fasteners. For through-bolted wood doors, drill full-diameter clearance holes.
For the complete installation walkthrough including arm attachment, valve adjustment, and ADA compliance checks after mounting, see the how to install a door closer on a commercial door guide.
Template Application by Door Type
The template procedure is the same regardless of door material, but the drilling technique changes based on the substrate.
Hollow Metal Doors
Always use a center punch before drilling. Without a starter dimple, the drill bit walks on the metal surface and the hole lands off-center. Drill a 1/8 inch pilot hole at each location. The SRT screws tap their own threads as they are driven in. Do not over-torque the screws. The hollow steel facing is typically 16 to 18 gauge and the threads strip quickly if driven past resistance.
Wood Doors
Wood doors accept SRT screws directly, but pilot holes still prevent splitting near the door top edge where grain runs longitudinally. For heavy wood doors or through-bolted installations with machine screws and sex bolts, drill full-diameter clearance holes at the template locations.
Aluminum Storefront Doors
Aluminum requires the same center punch step as hollow metal. The material is softer and a bit will walk even more easily without a starter dimple. Many aluminum door manufacturers require through-bolted mounting with reinforcement plates behind the door rail. Confirm this with the door specification before using SRT screws.
Top Jamb Installation: Special Requirements Before You Template
Top jamb mounting places the closer body on the door head with the arm shoe on the door face near the top edge. Before templating any top jamb installation, check one critical dimension.
Measure the frame face (top rail depth). The exposed frame face between the door face and the wall must be at least 3-1/2 inches for a flush header or single-rabbet frame. If the top rail is less than 3-3/4 inches deep, the closer body will overhang the frame face and cannot mount securely.
For frames with insufficient depth, the LCN 4040XP-18 drop plate is required. This plate extends the mounting surface and provides the additional frame face needed. Order the plate before the installation date. The template for top jamb installations notes this requirement, but it is easy to miss when reading quickly on the job. On fire-rated doors, top jamb installations must also comply with the closer's UL listing requirements. The fire door closer adjustment guide covers the post-installation checks that apply.
EDA and CUSH Arm Templates: What Changes
The EDA and CUSH arm configurations both use the 110-180 degree template, but each has installation details that differ from a standard regular arm push side job.
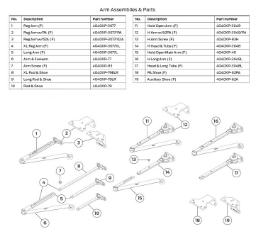
LCN 4040XP arm assembly configurations. View arm assembly diagrams and parts.
EDA (Extra Duty Arm)
The EDA arm uses the same 110-180 degree template as the standard regular arm push side installation. EDA and CUSH arm closers include the 4040XP-201 fifth hole spacer to support the shoe at an additional fastener location. The template marks the fifth hole position. Make sure to punch and drill this hole. It is easy to miss when the standard four-hole pattern is habitual.
CUSH Arm (Cushion Stop)
The CUSH arm also uses the 110-180 degree template, but stop points differ from the template labels. A door templated at 90 degrees will actually stop at approximately 95 degrees with the CUSH arm. A 180-degree templated position yields a stop of approximately 175 degrees. Build this offset into your planning if you are matching an existing door stop position. For part-by-part identification of every component in these arm assemblies, see the LCN door closer parts guide.
What to Do When the LCN 4040XP Template Is Missing
The paper template gets lost, discarded, or damaged on busy job sites. When it is missing, you have three options:
Option 1: Download the PDF Template Sheets
Allegion publishes each LCN 4040XP template as a downloadable PDF through their resource portal. The templates must be printed at 100 percent scale on standard 8.5 x 11 inch paper. Do not print to "fit page" or the dimensions will be wrong and every hole location will be off.
Option 2: Source the LCN 4040XP Metal Template Kit
The LCN 4040XP metal template kit is a reusable machined aluminum drilling guide that permanently replaces the paper template. It is the professional choice for crews that install multiple 4040XP closers regularly.
- 4040XP-107: metal template for push side EDA arm configurations
- 4040XP-107CUSH: metal template for CUSH arm configurations
The metal kit eliminates template shift during center punching, does not tear or degrade, and requires no tape. On hollow metal doors with multiple closers being installed in the same session, it dramatically reduces setup time per door. Call Security Parts at 845-935-0301 for help identifying the correct kit for your configuration.
Option 3: Use Known Hole Dimensions Manually
If neither option is immediately available, locate the published installation instruction sheets for your specific configuration. The hole positions are shown as dimensioned drawings in each sheet. Transfer the dimensions manually using a tape measure and a square, then mark with a center punch before drilling. This approach is slower and carries more risk of measurement error.
For parts sourcing questions, call Security Parts at 845-935-0301 or visit the contact page.
Spring Power Adjustment After Mounting
The LCN 4040XP uses the FAST Power Adjust system, which allows spring power changes without tools and without removing the cover. Locate the adjustment slot on the back of the closer near the pivot end. Settings run from 1 (lightest) to 6 (strongest).
| Door Width | Spring Power Setting |
|---|---|
| 30 inches and under | 1 or 2 |
| 30 to 36 inches | 2 or 3 |
| 36 to 42 inches | 3 or 4 |
| 42 to 48 inches | 4 or 5 |
| 48 to 54 inches | 5 or 6 |
For ADA-compliant openings, the maximum opening force is 5 pounds on push side doors. Verify the opening force with a push-pull gauge after setting spring power. For a full walkthrough of sweep speed, latch speed, and backcheck adjustment after installation, see the commercial door closer adjustment guide.
LCN 4040XP Parts and Resources at Security Parts
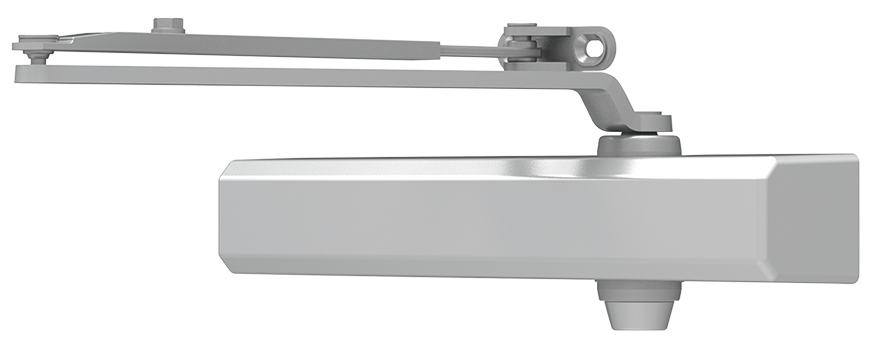
LCN 4000 Series surface-mounted door closers. Browse all door closer parts.
Security Parts stocks LCN 4040XP replacement parts with same-day shipping on stocked items. The LCN 4040XP model page includes interactive assembly diagrams with labeled component positions. The LCN 4040XP series parts catalog lists every stocked part by category. Browse the full door closers parts catalog for LCN and other manufacturer components.
For pre-order compatibility support, call 845-935-0301 or contact the team through the contact page.
Related LCN Guides
- LCN door closer parts guide: 4040XP, 4000 Series and complete service guide
- LCN door closer parts: what each component does and when to replace it
- LCN 4000 Series and 2210 door closer parts guide
- LCN 1000, 2010, 2030, and 3030 Series door closer parts guide
- LCN commercial door closer selection guide
- Commercial door closer sizing guide: LCN sizes 1 through 6
- How to install a door closer on a commercial door
- How to adjust a commercial door closer
- How to adjust a fire door closer
- Door closer parts diagram: LCN component guide
- Commercial door closers types guide
- LCN Sentronic, SEH, Smoothee and Auto Equalizer parts guide
- LCN Benchmark and Senior Swing operator guide
- Commercial door hardware maintenance checklist
- ANSI/BHMA door hardware standards guide
About the Author
This guide was written by the Security Parts team, a commercial door hardware parts specialist serving locksmiths, facility managers, contractors, and service technicians since 2001. Security Parts stocks OEM and aftermarket replacement components for LCN, Von Duprin, Schlage, Falcon, and other leading commercial hardware manufacturers, with same-day shipping on stocked items and pre-order parts identification support at 845-935-0301.